Prerequisites
- Cloudflare account with API access
- Account ID (found in Cloudflare dashboard)
- API Token with appropriate permissions for your selected services
Setup
Get Your Account ID
Log in to Cloudflare Dashboard → select any domain → copy your Account ID from the right sidebar under API section.
Create API Token
Go to My Profile → API Tokens → Create Token.Select permissions based on the services you want to enable (see Required Permissions below).
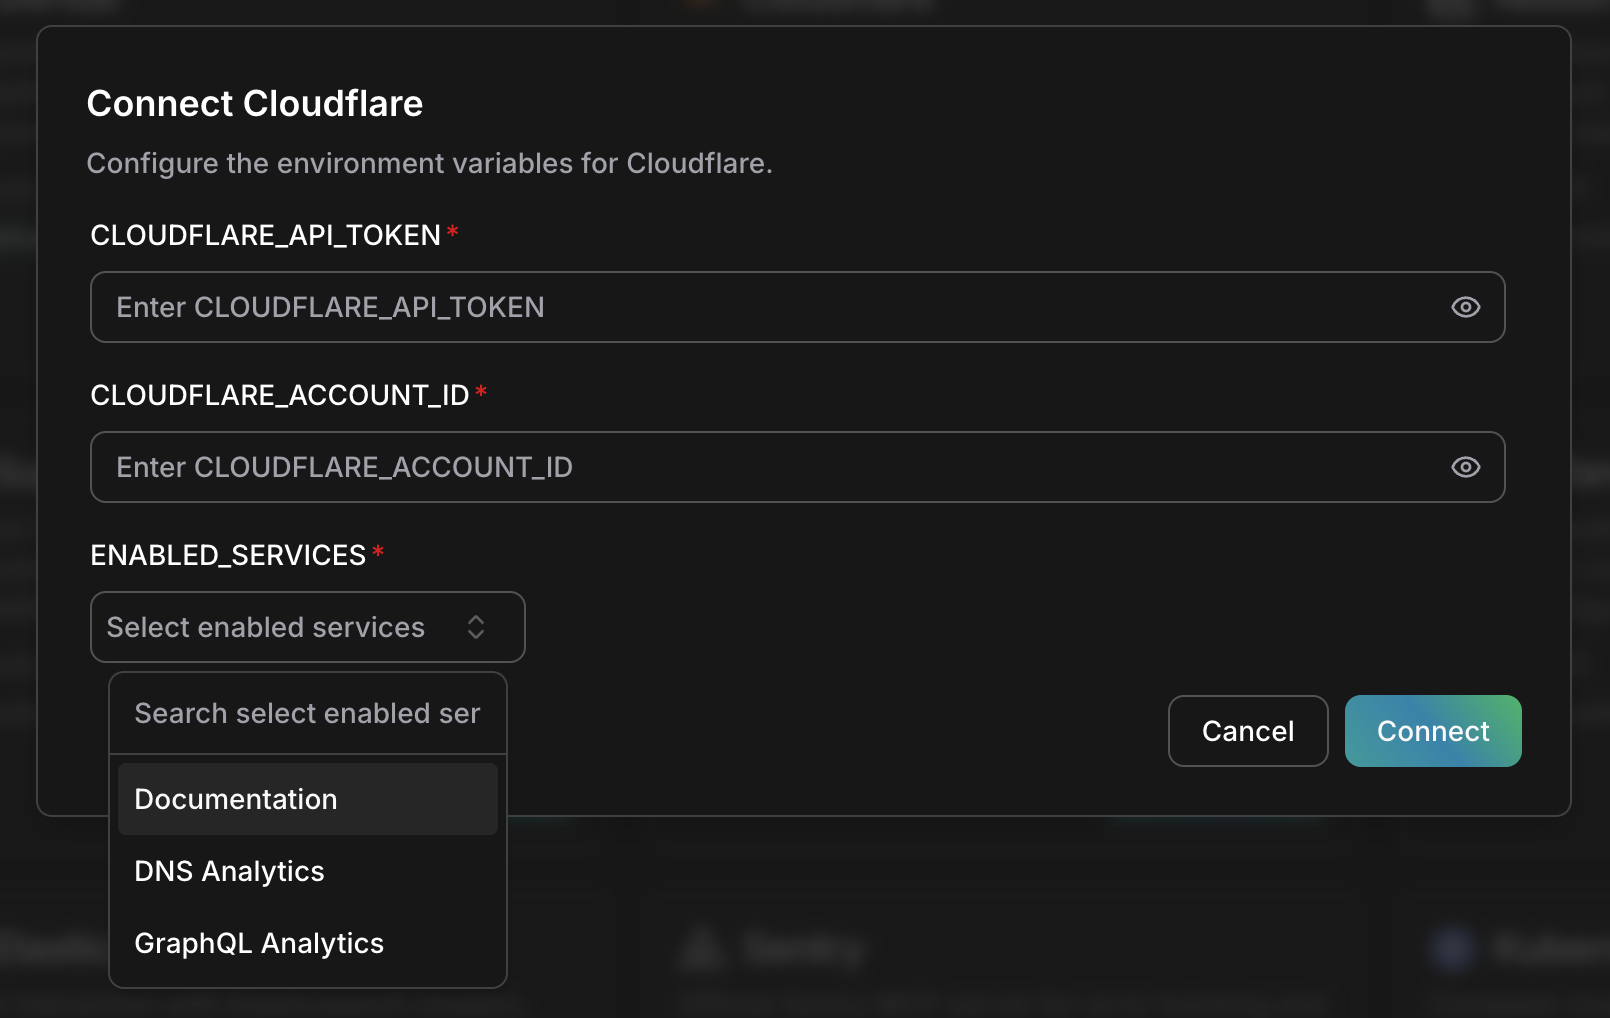
Cloudflare connection dialog with API token, Account ID, and service selection
Connection Details
| Field | Description | Required |
|---|---|---|
| CLOUDFLARE_API_TOKEN | Your Cloudflare API token | Yes |
| CLOUDFLARE_ACCOUNT_ID | Your Cloudflare account ID | Yes |
| ENABLED_SERVICES | Services to enable | Yes |
Supported Services
| Service | Description | Use Case |
|---|---|---|
| Documentation | Access Cloudflare documentation | Reference docs during troubleshooting |
| DNS Analytics | DNS query analytics and traffic data | Analyze DNS patterns, identify issues |
| GraphQL Analytics | Advanced analytics via GraphQL API | Custom analytics queries, detailed reports |
Required Permissions
Documentation
No special permissions required. This service provides access to Cloudflare’s public documentation.DNS Analytics
Create a custom token with these permissions:| Permission | Access Level |
|---|---|
| Zone | Read |
| Analytics | Read |
| DNS | Read |
| Account Settings | Read |
GraphQL Analytics
Create a custom token with these permissions:| Permission | Access Level |
|---|---|
| Account Analytics | Read |
| Zone Analytics | Read |
Creating an API Token
Navigate to API Tokens
Go to Cloudflare Dashboard → My Profile (top right) → API Tokens
Configure Permissions
Add the permissions needed for your selected services:For DNS Analytics:
- Account → Account Settings → Read
- Zone → Zone → Read
- Zone → Analytics → Read
- Zone → DNS → Read
- Account → Account Analytics → Read
- Zone → Zone Analytics → Read
Troubleshooting
Authentication failed
Authentication failed
- Verify your API token is correct and hasn’t been revoked
- Check that the token has the required permissions for your selected services
- Ensure the Account ID matches the account the token was created for
Missing analytics data
Missing analytics data
- Verify the token has Analytics read permissions
- Check that the zones have traffic generating data
- Analytics data may take up to 24 hours to appear for new zones
DNS Analytics not working
DNS Analytics not working
- Ensure all four permissions are granted: Zone, Analytics, DNS, Account Settings
- Verify the token has access to the specific zones you’re querying
- Check that DNS is proxied through Cloudflare (orange cloud enabled)
GraphQL queries failing
GraphQL queries failing
- Verify Account Analytics and Zone Analytics permissions
- Check the query syntax against Cloudflare’s GraphQL schema
- Ensure you’re querying within the allowed time range
Security Best Practices
- Minimal permissions — Only enable permissions for services you need
- Token rotation — Rotate API tokens every 90 days
- Zone restrictions — Limit token access to specific zones when possible
- IP restrictions — Consider adding IP restrictions to your token
- Audit regularly — Review active tokens in Cloudflare dashboard
Related
MCP Connections
Learn about MCP-based integrations
AWS Connection
Connect your AWS infrastructure