

Prerequisites
- Workspace admin permissions — members can chat with agents but can’t edit them
- At least one connection in your workspace
Settings tabs
Enable or disable an agent
1
Open the Agents page
Go to Agents in the CloudThinker console.
2
Toggle the agent
Use the Enable/Disable toggle to activate or deactivate the agent.
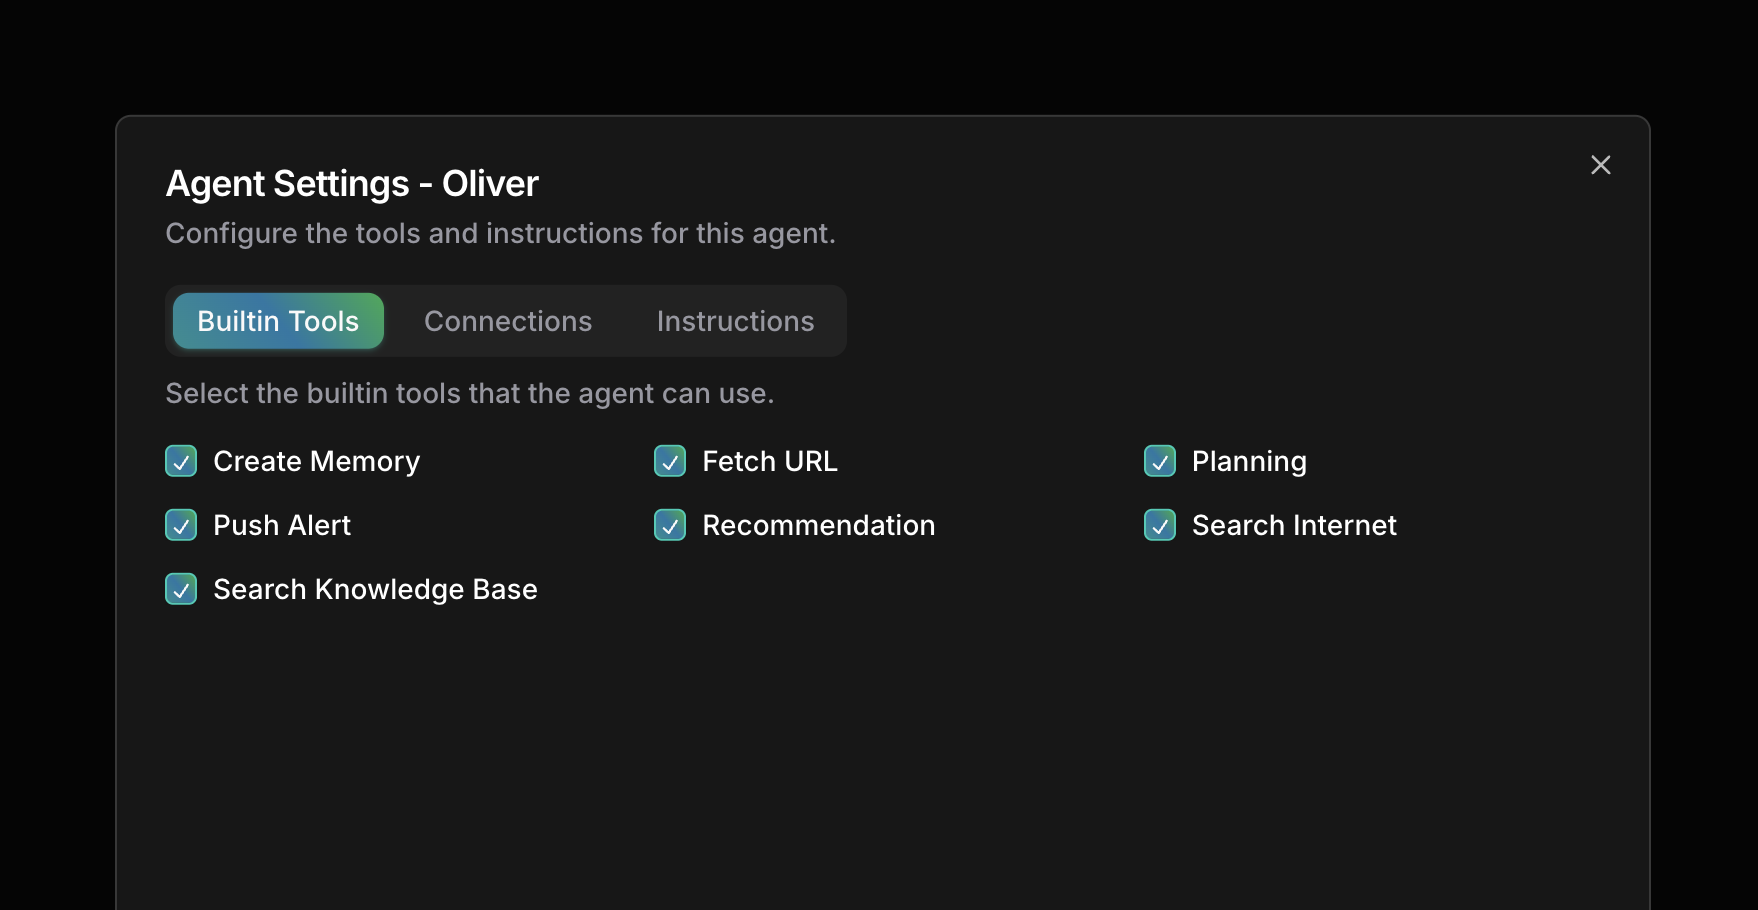
Configure builtin tools
1
Select the agent
Go to Agents and click the agent.
2
Open the Builtin Tools tab
Select Builtin Tools in the Agent Settings dialog.
3
Check or uncheck tools
Enable only the tools this agent needs.
Assign connections
1
Select the agent
Go to Agents and click the agent.
2
Open the Connections tab
Select Connections in the Agent Settings dialog.
3
Select connections
Choose which connections this agent can use, then save.
Set custom instructions
1
Select the agent
Go to Agents and click the agent.
2
Open the Instructions tab
Select Instructions in the Agent Settings dialog.
3
Write the instructions
Cover three areas: role context (expertise for your environment), scope limits (what the agent should and shouldn’t access), and operational guidelines (procedures and escalation paths).
Next steps
Customize Agents
Edit identity, language, and learning mode, or build your own agent
Approval
Configure tool approval workflows