

Prerequisites
- A registered Pentest app and permission to edit its test users.
- A dedicated test account with Password authentication.
- For test keys, access to the test application’s CAPTCHA configuration.
- For automated fallback, an installation where your administrator has enabled CAPTCHA fallback and configured the required solver.
Configure the login
1
Open the password identity
Open the app’s Settings → Test users, then Add test user or Add authentication. Choose Password and enter the account details.Set Login URL (optional) to the application’s password login page when needed. The login page must stay within your app’s target and scope.Expand CAPTCHA options (optional).
2
Choose the CAPTCHA options
Set Customer bypass to None unless you have prepared a target-side exception. For a test environment with provider test keys, choose Target test keys.Select CAPTCHA provider and enter the public sitekey already installed on the target in Installed test sitekey. Keep the matching verifier secret on your application server.Set Automated fallback to Allow for this identity or Disable for this identity. Allowing fallback does not turn on an installation where fallback is disabled.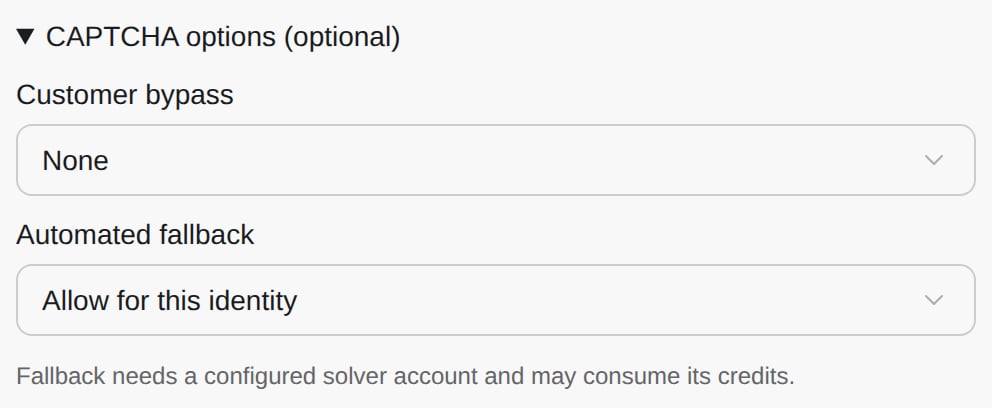
CAPTCHA options for a password identity.
3
Save and check the run
Click Save login, then start an on-demand pentest. Review the run’s authentication result before treating protected routes as tested.Success state: the run proves signed-in access to protected content and confirms that anonymous access is denied. A saved login or a completed CAPTCHA alone is insufficient.If CAPTCHA remains unsolved, authenticated testing is blocked. Correct the login setup or attach a verified Session token before another run.
Choose a target-side exception
The form displays Header name and Bypass secret for Bypass header. If saving this option is rejected, use the protected configuration path with your administrator or choose a verified session.
Provider test keys
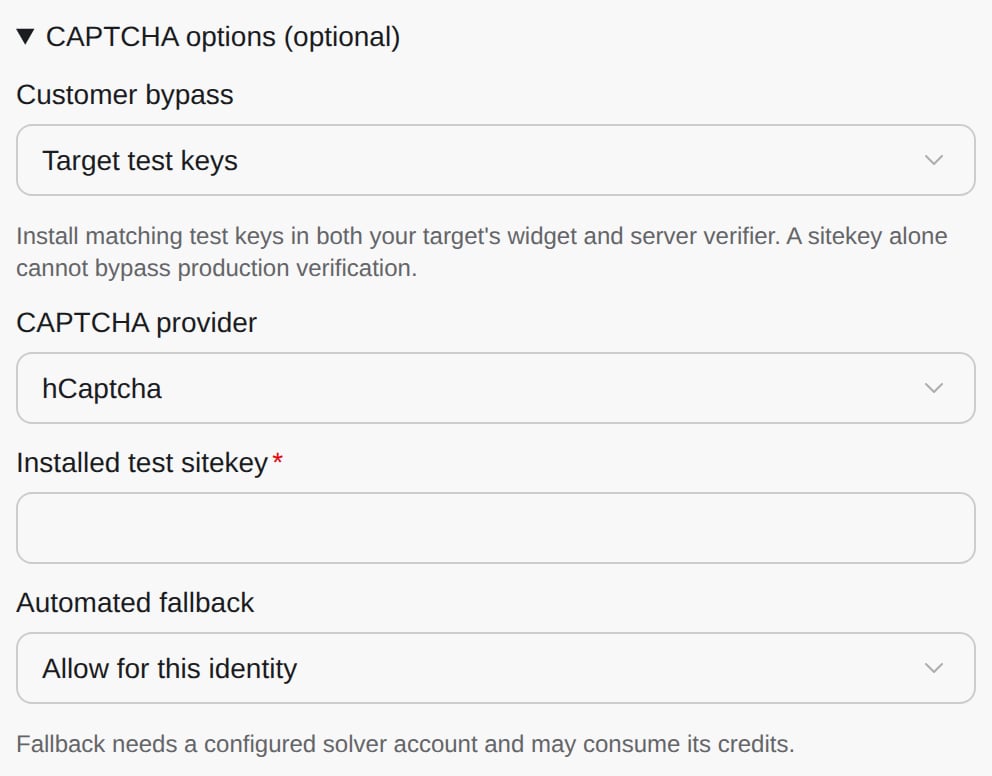
Target test-key configuration; the verifier secret stays on your application server.
Understand automated fallback
CloudThinker tries a configured customer bypass first. When fallback is enabled, it can attempt supported reCAPTCHA v2, reCAPTCHA v3, hCaptcha, and Turnstile login flows in the same browser session. Image challenges and provider checks can still reject the attempt. Provider selection does not guarantee that every challenge will pass. Fallback can consume configured solver credits. These options apply to password login. For other sign-in flows, use an available method described in Run a Pentest.Troubleshooting
CAPTCHA blocked this login
CAPTCHA blocked this login
Check the target’s test keys or bypass configuration and the installation’s fallback availability. Use a verified session if the challenge cannot be completed.
The test sitekey does not work
The test sitekey does not work
Confirm that the widget and server use matching test keys for the selected provider. Entering a sitekey in CloudThinker does not change your target’s verifier.
Bypass header cannot be saved
Bypass header cannot be saved
Header policies require protected credential configuration. Ask your administrator to arrange the dedicated bypass credential, or attach a verified session instead.
Next steps
Run a pentest
Review scope, access, and intensity before testing
Triage security findings
Read proof and coverage limitations before prioritizing fixes