Overview
There are two recommended approaches for managing multiple AWS accounts with CloudThinker:Multiple Workspaces
Create a dedicated workspace for each AWS account. Best for teams that work on separate accounts independently.
Single Workspace with Shortcuts
Use one workspace with AssumeRole and Shortcuts to switch between accounts. Best for users who frequently work across accounts.
Multiple Workspaces
Create a separate CloudThinker workspace for each AWS account. This approach provides clear isolation between accounts and is ideal for:- Teams dedicated to specific AWS accounts
- Strict compliance requirements with audit trails per account
- Different access permissions per account
- Environments that rarely need cross-account operations
Setup Steps
Create Workspace for Each Account
Navigate to Workspaces and create a new workspace for each AWS account. Use descriptive names like:
AWS ProductionAWS DevelopmentAWS Staging
Configure AWS Connection
In each workspace, go to Connections and set up the AWS connection using Role-Based authentication (recommended).
Set Up Team Access
Assign users to the appropriate workspaces based on their responsibilities and access requirements.
Pros and Cons
Advantages
- Clear isolation between accounts
- Dedicated resources (agents, knowledge) per account
- Simplified access control per account
- Separate audit trails for compliance
- No credential confusion between accounts
Considerations
- Requires switching workspaces to change accounts
- Knowledge bases are not shared across workspaces
- May need duplicate agent configurations
- More workspaces to manage
Single Workspace with AssumeRole
Use a single workspace with IAM AssumeRole and CloudThinker Shortcuts to dynamically switch between AWS accounts. This approach is ideal for:- Platform teams managing many AWS accounts
- Frequent cross-account operations
- Centralized knowledge and agent configurations
- Quick account switching during operations
How It Works
- Primary Connection: Your workspace connects to a primary AWS account
- Cross-Account Roles: Each target AWS account has an IAM role that can be assumed
- Shortcuts: Create shortcuts that instruct the agent to assume different roles
- Dynamic Switching: Use shortcuts in your prompts to switch context to different accounts
Setup Steps
Configure Primary AWS Connection
Set up your workspace with a primary AWS connection using Role-Based authentication.
Create Cross-Account IAM Roles
In each target AWS account, create an IAM role that your primary account can assume:Trust Policy (in target account):Replace
PRIMARY_ACCOUNT_ID with your primary AWS account ID (the account connected to CloudThinker).Attach the ReadOnlyAccess policy (or custom read-only policies) to the role.Create Account Switching Shortcuts
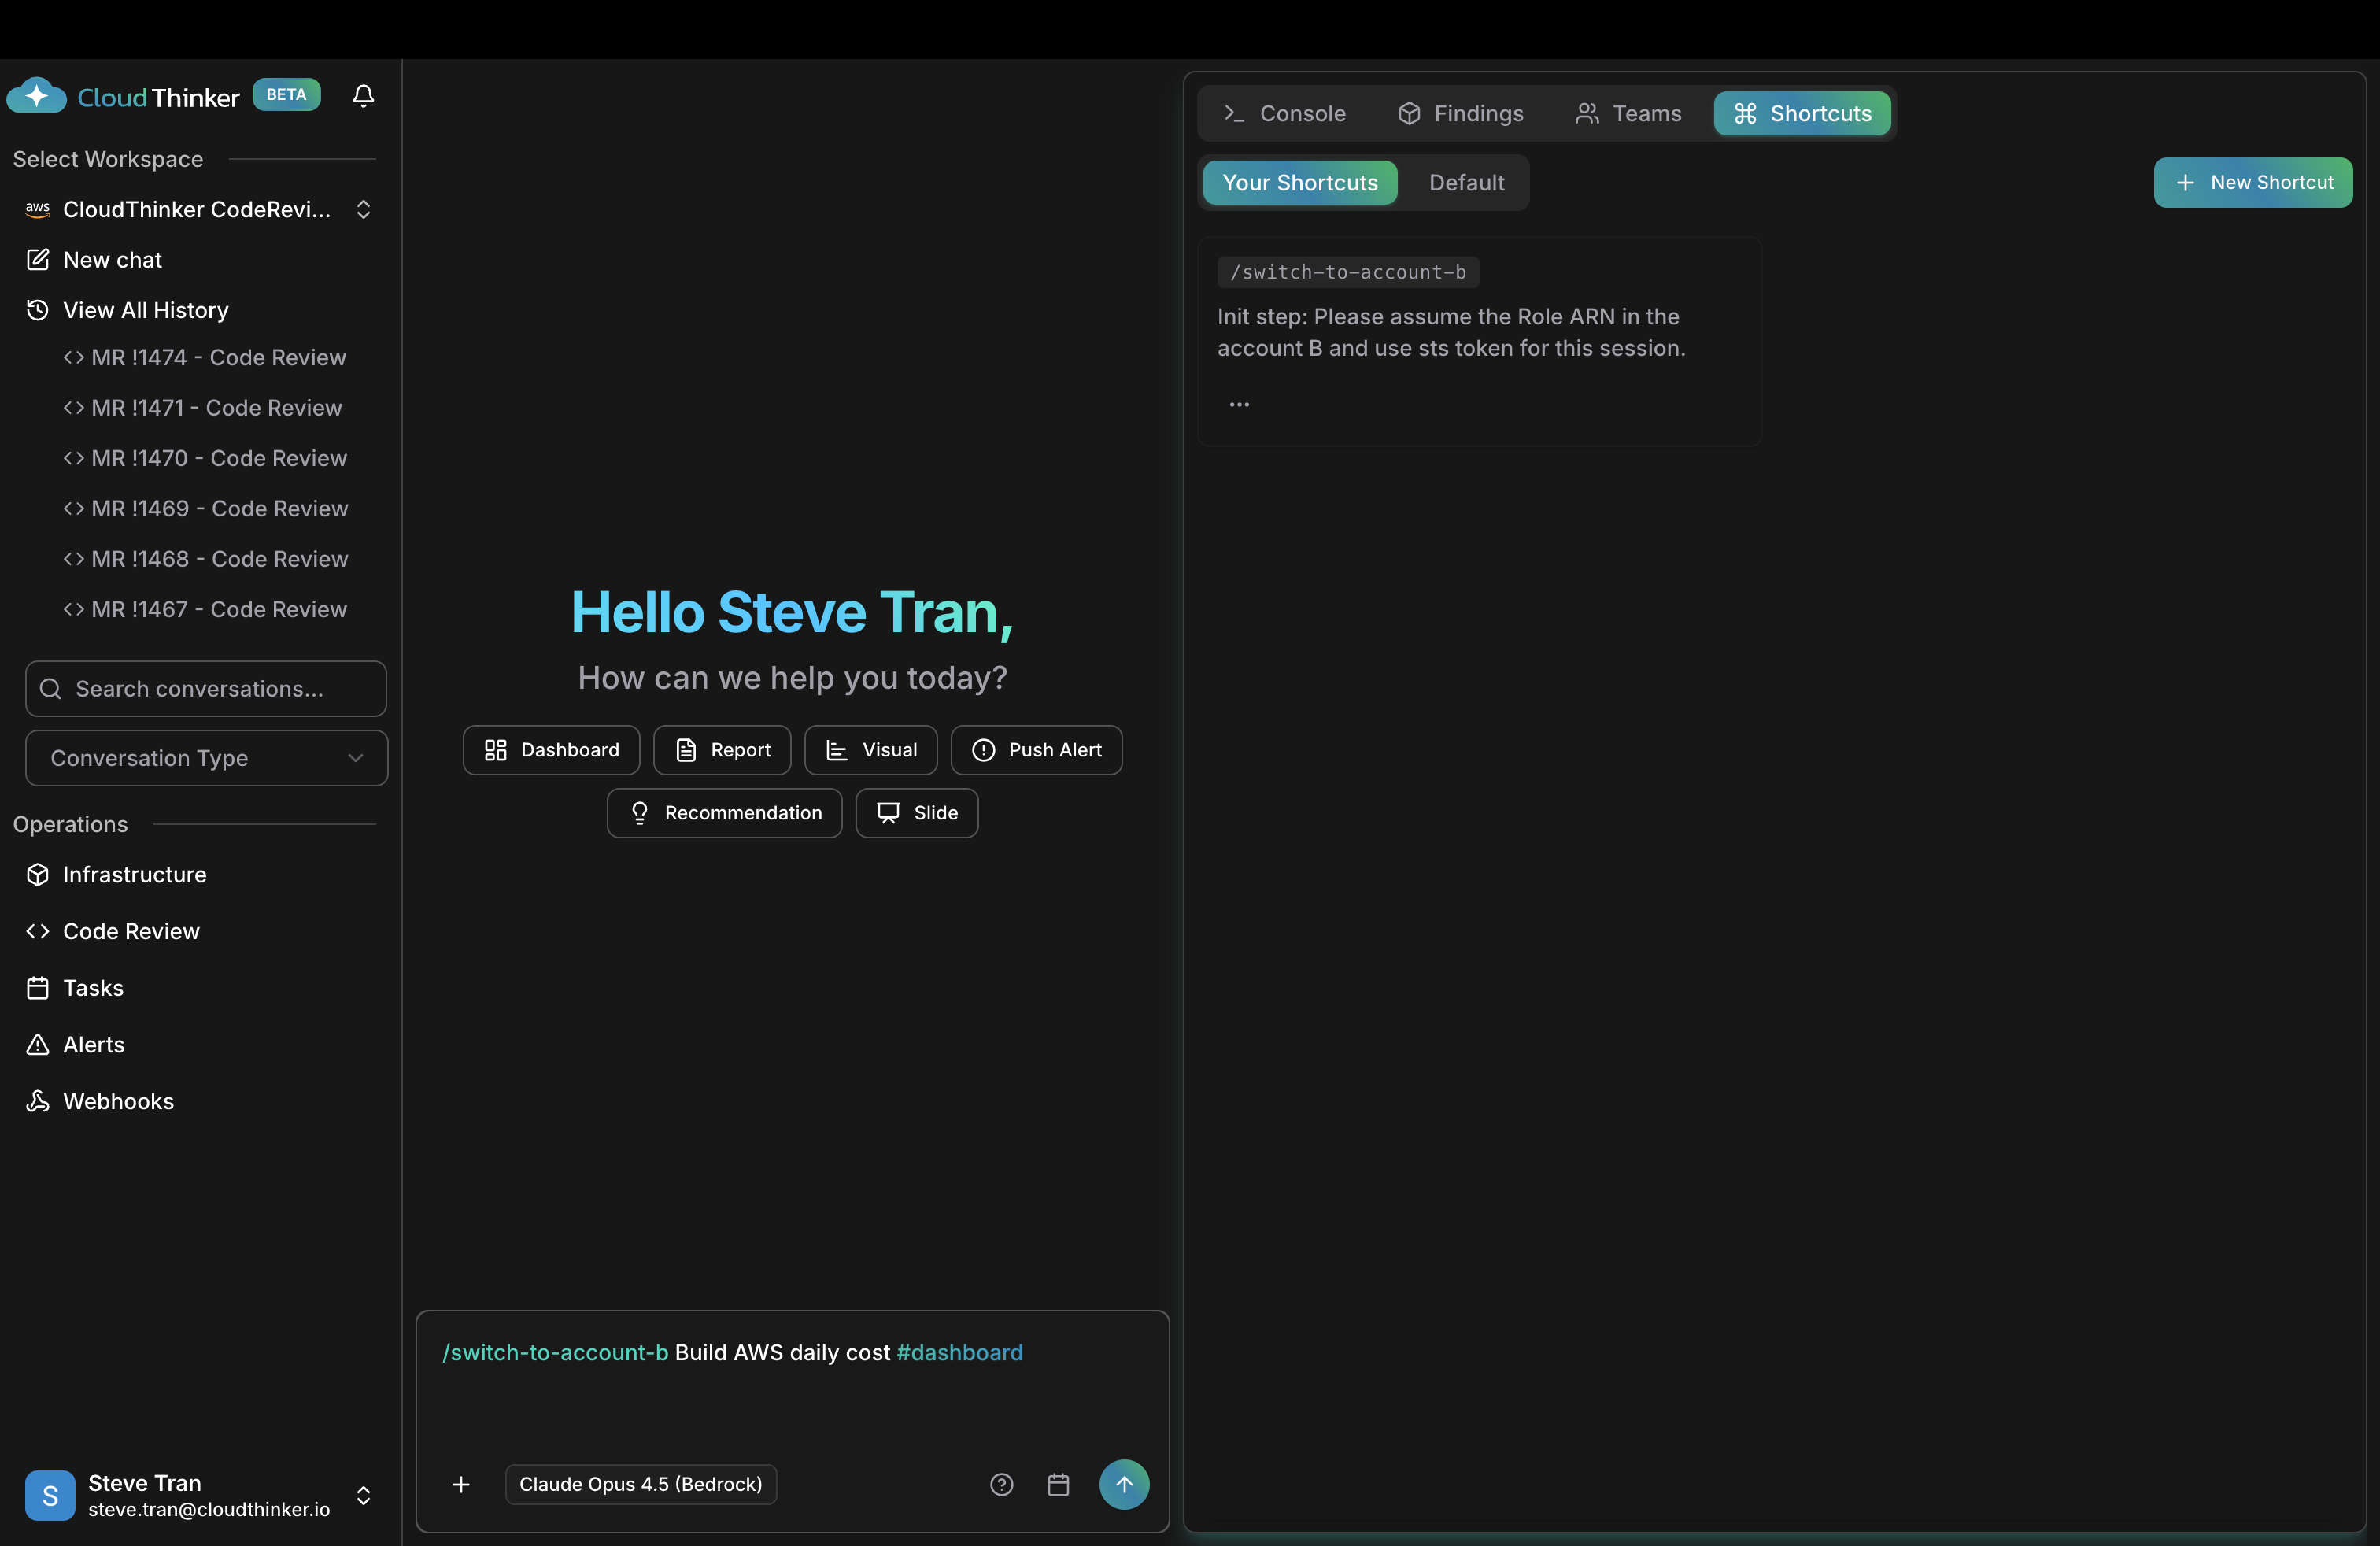
Navigate to Shortcuts panel (top right) and create shortcuts for each account:Example Shortcut:
- Name:
/switch-to-account-b - Init Step:
Please assume the Role ARN arn:aws:iam::ACCOUNT_B_ID:role/CloudThinkerAccessRole and use the STS token for this session.
Example Shortcuts Configuration
Create shortcuts for each AWS account you need to access:| Shortcut Name | Init Step |
|---|---|
/switch-to-prod | Please assume the Role ARN arn:aws:iam::111111111111:role/CloudThinkerAccessRole and use the STS token for this session. |
/switch-to-dev | Please assume the Role ARN arn:aws:iam::222222222222:role/CloudThinkerAccessRole and use the STS token for this session. |
/switch-to-staging | Please assume the Role ARN arn:aws:iam::333333333333:role/CloudThinkerAccessRole and use the STS token for this session. |
Pros and Cons
Advantages
- Fast account switching without workspace changes
- Shared knowledge base across all accounts
- Single agent configuration for all accounts
- Efficient for cross-account operations
- Less workspace management overhead
Considerations
- Requires proper IAM role configuration in each account
- Need to remember to use shortcuts
- Cross-account IAM setup complexity
- Shared access controls (all users can access all accounts)
Choosing the Right Approach
- Choose Multiple Workspaces When...
- Choose Single Workspace When...
- You have dedicated teams per AWS account
- Compliance requirements mandate separate audit trails
- You need different access permissions per account
- Teams rarely need cross-account operations
- You want complete isolation between environments
Hybrid Approach
You can also combine both approaches:- Production workspace: Dedicated workspace for production account with restricted access
- Development workspace: Single workspace using shortcuts to switch between dev, staging, and sandbox accounts
Security Considerations
Best Practices
IAM Role Security
- Apply read-only policies to cross-account roles
- Limit which accounts can assume roles
- Use specific principal ARNs instead of root where possible
- Regularly audit cross-account access
Access Management
- Review who has access to workspaces with multi-account access
- Use workspace-level permissions to control access
- Monitor operations in CloudTrail for all accounts
- Implement credential rotation policies
Next Steps
AWS Credentials Setup
Learn how to set up Role-Based authentication for AWS
Workspaces Guide
Detailed guide on creating and managing workspaces